Thursday, 26 November 2015

Day 9 of Horticulture:

In today's lesson, we learned about indoor planting and what we can do to improve plant growth when we are planting indoors. One of the things we learned about were light boxes. These are boxes that have been cut in a particular way and wrapped in tinfoil. Their job is to improve and increase the amount of light a plant receives. When a plant is placed in the light box, the light reflects off the tinfoil and onto the plant, increasing the plant's light absorption. After learning about the light boxes we then divided into groups and made our own light boxes. In the picture below you can see the light box that I made. You can also see the pot I made to hold the plant. This was designed using a plastic bottle, newspaper and masking tape. I cut out even sheets of newspaper and wrapped each individual piece around the bottle, sticking it together at the bottom to create a pot shape. I repeated this action seven times until the pot was able to stand on its own. I removed the bottle and then filled the pot with soil, watered it and finally, placed basil seeds into it before placing it into my light box. I plan to monitor the plant carefully over the next few weeks, making sure I water it every two days and hopefully I will soon have a strong and healthy basil plant.
My Light Box:


Tuesday, 24 November 2015

Day 8 of Horticulture:
In today's lesson we conducted research on soil. Using the computer room I found the following facts about soil; what nutrients it is composed of, examples of different types of soil and the conditions needed for soil in order to begin planting. I found out the following:

The Composition of Soil:

Soil is composed of five major components 

Mineral matter which is obtained by the disintegration and decomposition of rocks.
Organic matter which is obtained from the remains of dead plants and animals. (also known as humus)
Water from the atmosphere and the reactions in soil. (both chemical and physical) 
Air or gases from the atmosphere and reactions of roots and chemicals in the soil. 
Organisms such as worms and insects. 
Pie Chart of Soil Composition:


Types of Soil:

Soil can be divided into the following groups:

Sandy Soils: These soils have a high sand content and they are full of large air gaps. It is a free draining soil which is very easy to work with and it warms up very quickly in the spring. However, it is lower in nutrients as it is subject to very heavy leaching and the soil dries out quickly.

Clay Soils: This is a naturally fertile soil that holds water very well, leaching of this soil is slower and it is darker in colour. However it is hard to work in wet conditions, has poor drainage and is a very cold soil.

Silt Soils: These soils are very fertile soils that retain water well and drain considerably slower than sandy soils.

Peat Soils: This soil is high in organic matter and therefore a very fertile soil that is dark in colour. However, it is an acidic soil that has very poor draining ability.


Diagram of Different Soil Types:


Conditions needed for plant growth:

In order for a plant to grow properly, it needs the following conditions:

1. Correct temperature.
2. Sufficient amount of light.
3. Correct amount of water.
4. Sufficient supply of oxygen.
5. Correct supply of mineral nutrients.
6. Appropriate support to hold the plants upright.


Diagram of the different layers of soil:


Monday, 2 November 2015

Day 7 of Horticulture:


In today's class we began to plant our chosen plants. The equipment we used today included a trowel, shovel, watering can, garden fork and of course the plants we used. 
      We began by creating a space to plant in the courtyard's flower beds. We cleared away all remaining weeds then lifted the topsoil away using a trowel and a shovel. After this we made a hole that was big enough for the plant to fit into. We filled the hole with a small amount of water using the watering can then gently lifted the plant out of its pot by the bottom of its stem. We carefully loosened the roots at the bottom of the plant then placed it into the hole.
       We filled the space around the plant with compost to keep the plant steady and well-nourished. Then we covered the top with a mixture of compost and the soil we had removed to make the hole. Finally, we watered the plant again with the watering can and tidied the space around the plant, removing leftover soil and the weeds we had removed.


            Pictures from My Day of Planting:


Monday, 12 October 2015

Day 6 of Horticulture:

In today's class, we were tasked with learning about composting; what it means, how do we compost, what are the benefits, challenges associated with composting, etc.
        I learned that composting is the controlled decomposition of organic materials. Composting can be done using one of three different methods; home/backyard composting, vermi-composting and heat-based composting. Home-composting is the natural degradation of household organic waste by naturally occurring microscopic organisms. Vermi-composting is similar to this except it also involves natural degradation by the digestive process of earthworms. Heat-based composting uses high temperatures to increase the rate of degradation and is used by commercial facilities.
       Composting involves using the correct amounts of carbon (browns) and nitrogen (greens). The correct ratio of these two to avoid a bad odor is 30 parts brown to 1 part green. Composting is very simple once you know this and have a compost bin to put the waste into. Keep it moist, turn it periodically and keep it filled with organisms and you will have very good compost.
       There are many benefits to composting, it turns waste into a useful resource, it diverts waste from landfills and incinerators, it is environmentally friendly and it is economically beneficial because you save money on waste disposal services and fertilizers.
       However, there are some challenges. You must make sure your quantities are correct when making compost, do not spread it out if it is not ready otherwise it will destroy the plant life instead of help it. It does take time to make so you must also be patient. 
       Compost is a very practical and useful resource that helps you save money and create a beautiful garden.


"How to Compost" video link:

https://www.youtube.com/watch?v=ZAMy_ZJ0Xa8

Compost Poster:
In conclusion to my research on composting, I designed a composting poster with a fellow classmate. We cut out different waste items and organised them into to their appropriate sections for waste disposal. This poster was designed to help people understand how to dispose of their waste and what materials would be suitable for composting. For example, food waste such as apple and banana skins are perfect components needed for composting.


Tuesday, 22 September 2015

Day 5 of Horticulture:

Today we carried out research in the computer room. Our task was to find five flowers and three vegetables that can be sown in Autumn and survive the Winter. The plants must also be suitable for the Irish climate. I found the following plants:

The Vegetables:

1. Broad Beans- these can be planted in Autumn, the Aquadulce Claudia are the most suitable for this time. The plant can survive the Winter months and can also protect the soil around it.


2. Oriental Salads- these can be sown in Autumn, it is a durable plant that tolerates frost and cold temperatures.


3. Chard/Perpetual Spinach- these plants are easy to grow, suffers from very few pests and diseases and can survive the cold temperatures.

The Flowers:

1. Winter Acconite- these are very bright and colourful flowers that are very tough and will survive in cold temperatures and snow.

2. Winter Iris- these plants are suitable for growth in Winter and are cheaper than plants in pots.


3. Snowdrops- this flower is able to withstand the cold and will multiply over the years.


4. Daffodils- this bright and colourful flower thrives in mild weather and lasts a long time.


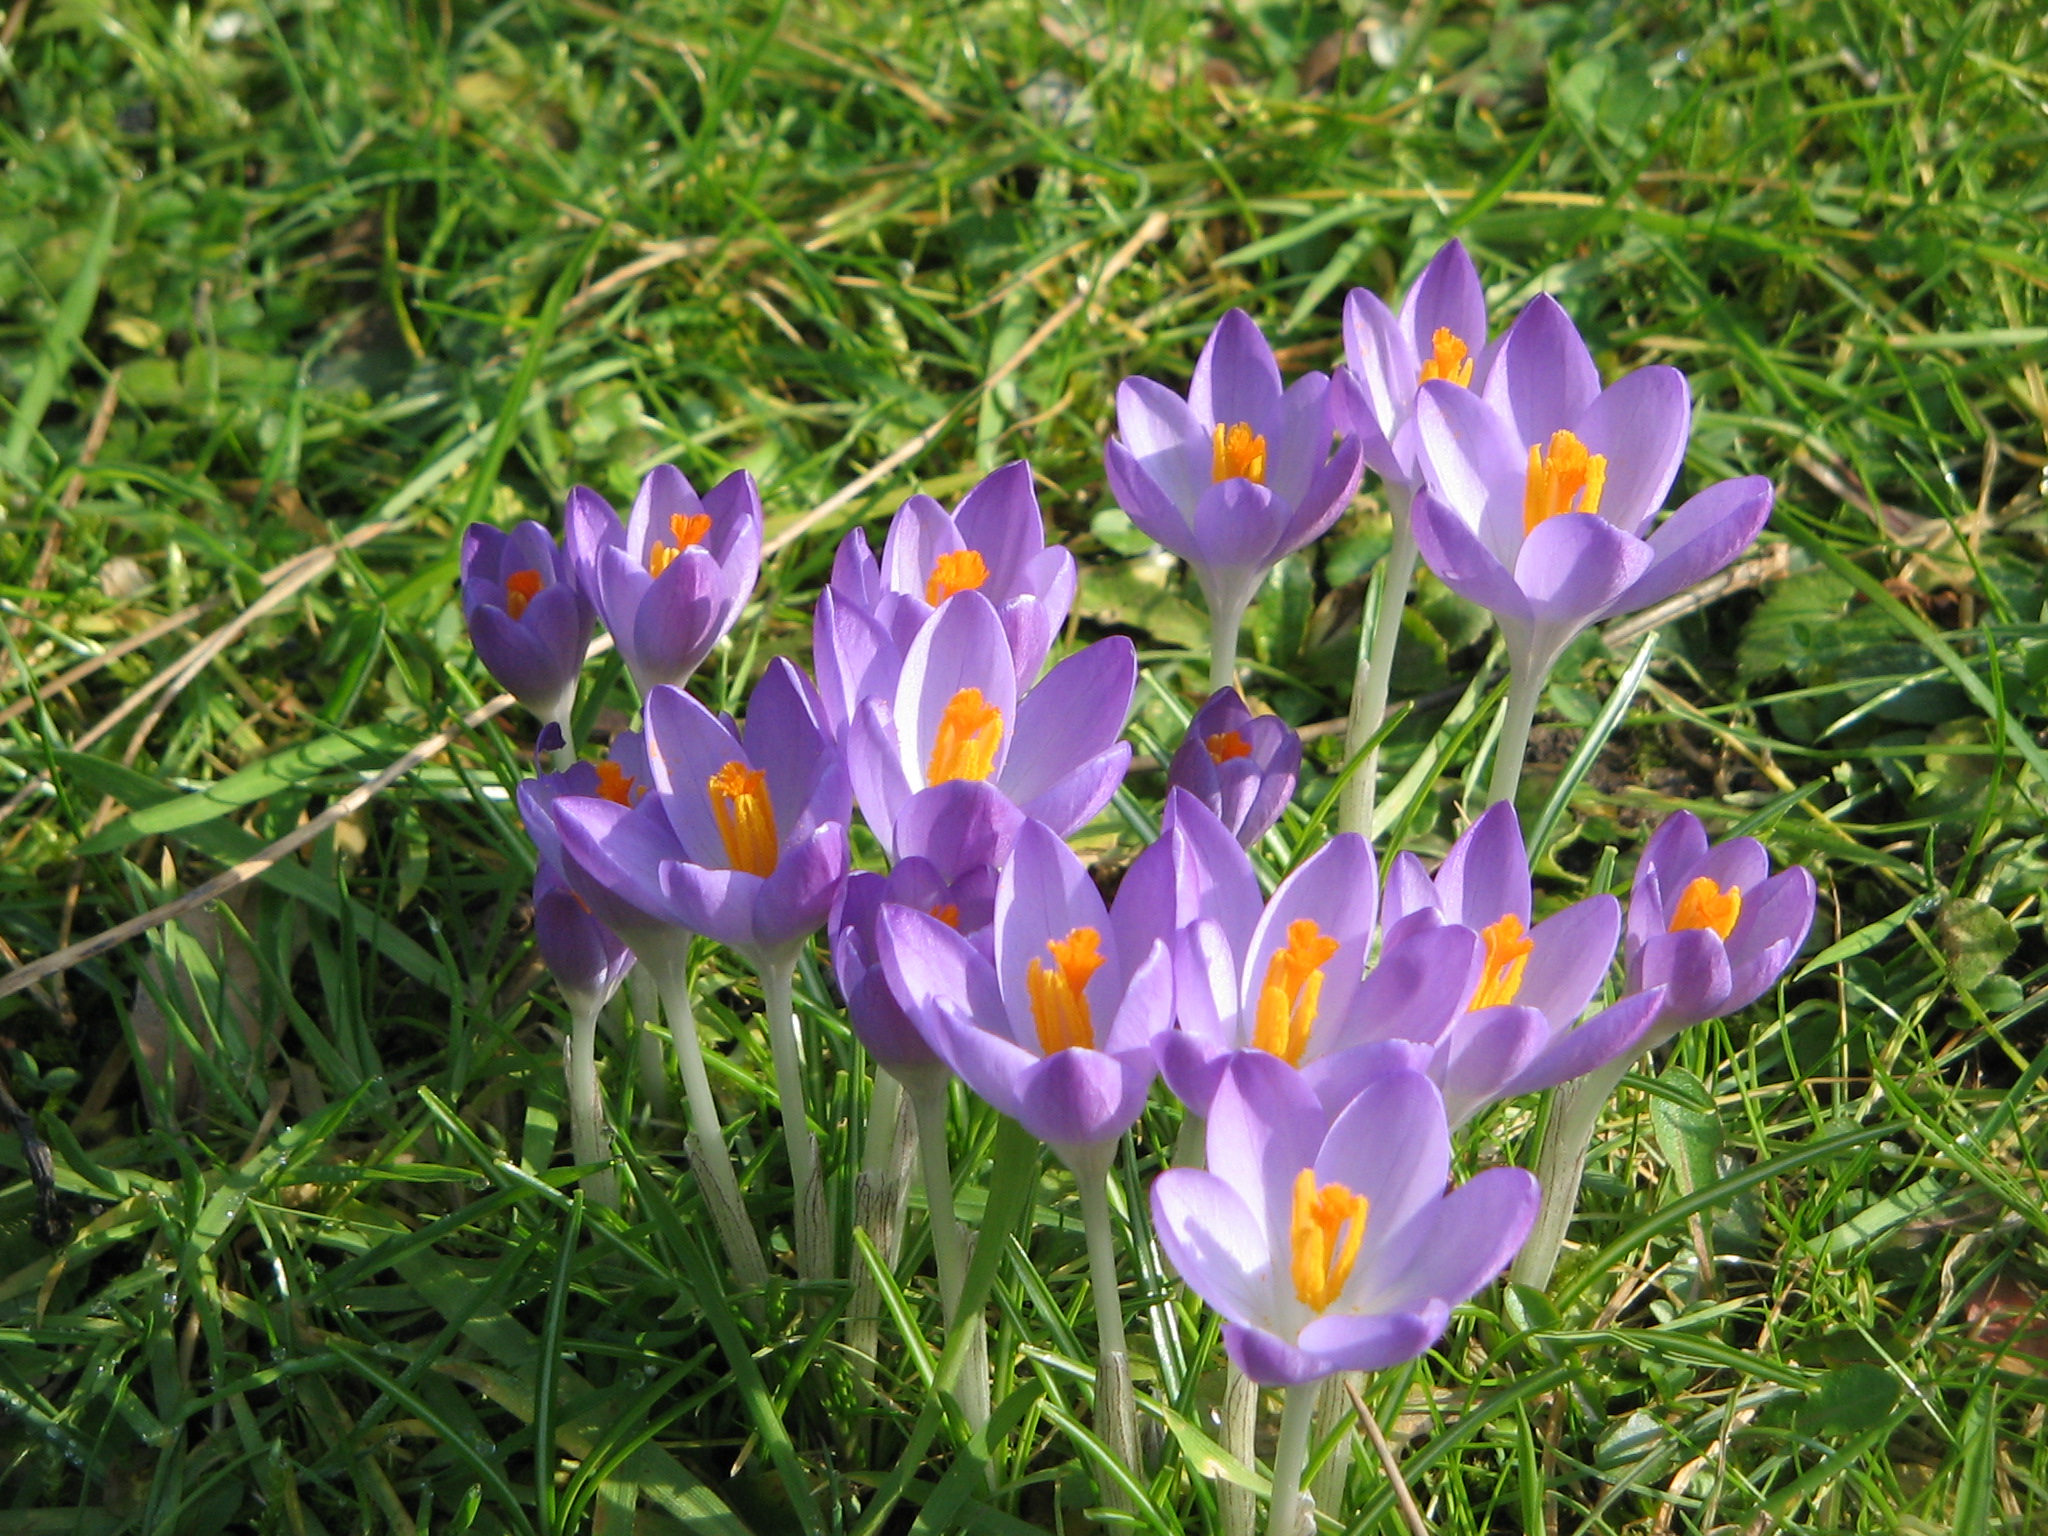
5. Crocus Tommasinianus- this flower is very easy to grow and brings lots of colour to the garden.


Day 4 of Horticulture:


Today we continued our practical work in the courtyard. My teacher showed us the different tools we would be using during our practical work in Horticulture and demonstrated how to use these tools. Examples of the tools she showed us include the shovel and the trowel. After this we separated into groups and went to different areas of the courtyard where we began to prepare the flower beddings. This was very important as preparation is key when designing a garden and preparing the soil in advance will make the process of planting much easier.

Examples of Garden Tools:


Day 3 of Horticulture:

Today we began our practical work in our school's courtyard. My teacher gave us a short tour of the courtyard, showing us the work done by previous TY students as well as some of the herbs grown in the courtyard such as lavender, lemon balm and the curry plant. After this we got trowels and began to clear all the flower beds of weeds that had grown over the Summer. It was important to get rid of the weeds because they drain the soil of water and nutrients as well as taking up valuable space. In order for the plants we plan to grow this year to grow successfully, we needed to remove the weeds to make sure our plants would get the correct amount of space, nutrients and water.

Garden tools, Lavender and Weeds:


Day 2 of Horticulture:

In today's lesson, we began sketching the school courtyard. Using a ruler, pencil and colours I drew a birds-eye view sketch of the school courtyard, outlining the shape of the paths, the entrances and the doorways into the courtyard. I also sketched the flowerbeds surrounding the courtyard and the picnic table in the centre. After completing my sketch, I was told to come up with three new features I would use if I were to re-design the courtyard. My three ideas were; to add a water fountain, a Home-Economics herb garden and more flowers to add extra colour and character to the courtyard. I then printed out pictures as examples of my three features and lay them around my sketch, an explanation of why I chose each particular feature under the pictures.

My Courtyard Sketch:


Monday, 21 September 2015

Day 1 of Horticulture:

I began my first lesson in Horticulture on the 31st of August, 2015. The class began with an introduction into the subject of Horticulture. I learned that Horticulture is the science or art of cultivating fruits, vegetables, flowers and ornamental plants. It is also the cultivation of a garden. After the introduction my teacher continued by explaining the importance of design within a garden and demonstrated its importance by showing us a clip from the well known TV show "Super Gardens". In conclusion to this lesson I learned the meaning of Horticulture, how important it is to be accurate and precise when planning your garden and also how vital it is to be organised when designing your garden.


Example of a well designed garden: