Day 9 of Horticulture:

In today's lesson, we learned about indoor planting and what we can do to improve plant growth when we are planting indoors. One of the things we learned about were light boxes. These are boxes that have been cut in a particular way and wrapped in tinfoil. Their job is to improve and increase the amount of light a plant receives. When a plant is placed in the light box, the light reflects off the tinfoil and onto the plant, increasing the plant's light absorption. After learning about the light boxes we then divided into groups and made our own light boxes. In the picture below you can see the light box that I made. You can also see the pot I made to hold the plant. This was designed using a plastic bottle, newspaper and masking tape. I cut out even sheets of newspaper and wrapped each individual piece around the bottle, sticking it together at the bottom to create a pot shape. I repeated this action seven times until the pot was able to stand on its own. I removed the bottle and then filled the pot with soil, watered it and finally, placed basil seeds into it before placing it into my light box. I plan to monitor the plant carefully over the next few weeks, making sure I water it every two days and hopefully I will soon have a strong and healthy basil plant.
My Light Box:


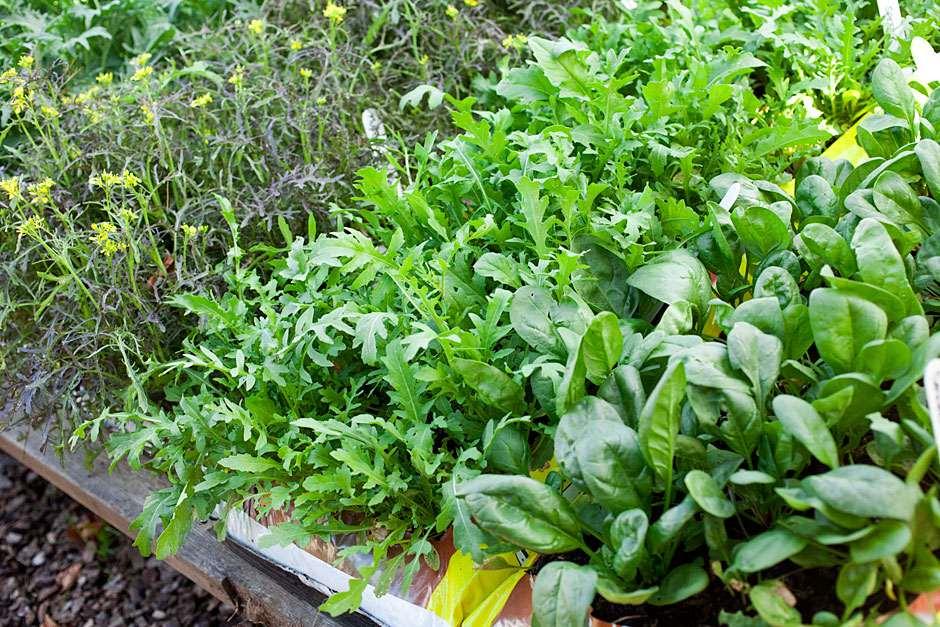-Mustard-Red-Frills-,-Rocket-Speedy-,-Spinach-Lazio-_PUB0021099.jpg?width=365&height=243)